
Welcome to Japan!
You have just landed at Narita Airport. You are probably tired, jet-lagged, and maybe a little confused. Don’t worry.
Before you rush to the train, you need to complete 3 Critical Missions in the Arrival Hall. If you do these three things now, your entire trip will be smooth. If you skip them, you might struggle later in the city.
Here is your 30-minute survival guide.
Mission 1: Get Connected (WiFi / SIM) 📶
Do not leave the airport without internet. Free WiFi in Japan is improving, but it is not everywhere. You need Google Maps to survive.
- Pocket WiFi: Best for groups or if you have multiple devices.
- SIM Card / eSIM: Best for solo travelers.
Where to get them: If you pre-booked via Klook (recommended for the best price), go to the designated counter in the Arrival Hall. Look for signs like “HIS,” “QL Liner,” or specific WiFi counters. If you didn’t book, you can buy SIM cards at vending machines or counters, but they are often more expensive than online booking.
💡 Pro Tip: If you have an unlocked phone, eSIM is the easiest option. You can set it up before you even fly!
Mission 2: Get Cash (Yen) 💴
Japan is still a cash-loving society. Many ramen shops, ticket machines, and temples do not accept credit cards.
Do not use the currency exchange counter! The rates are often poor. Instead, look for a 7-Eleven Bank ATM (Seven Bank).
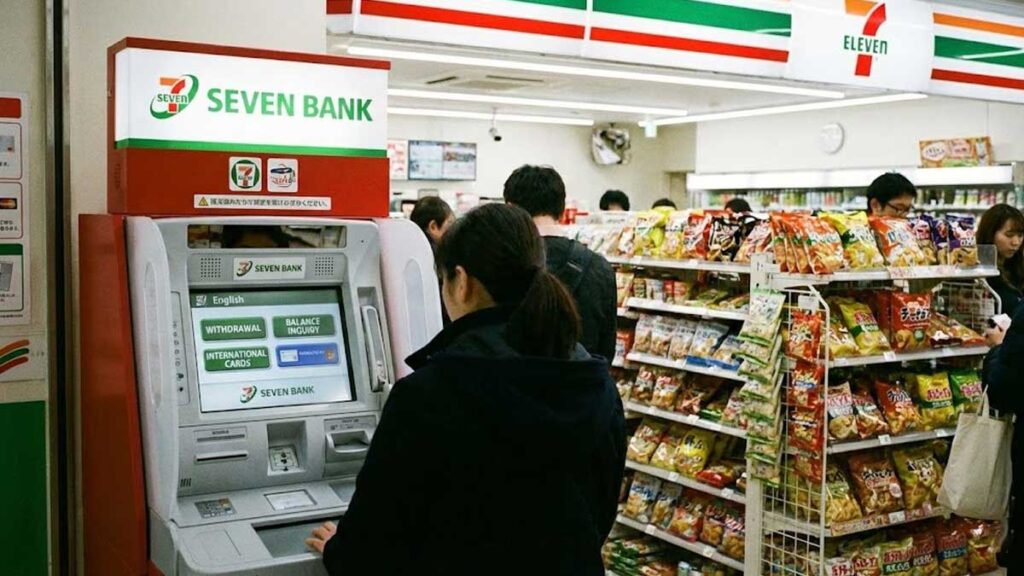
- Why? They accept almost all foreign cards (Visa, Mastercard, Amex, etc.).
- Where? You can find them in the Arrival Lobby of Terminal 1, 2, and 3. Look for the “7-Bank” logo.
📖 Read More: Cash vs. Credit Card in Japan (2026): Do You Really Need Yen?
Mission 3: Get an IC Card (Suica / PASMO) 💳
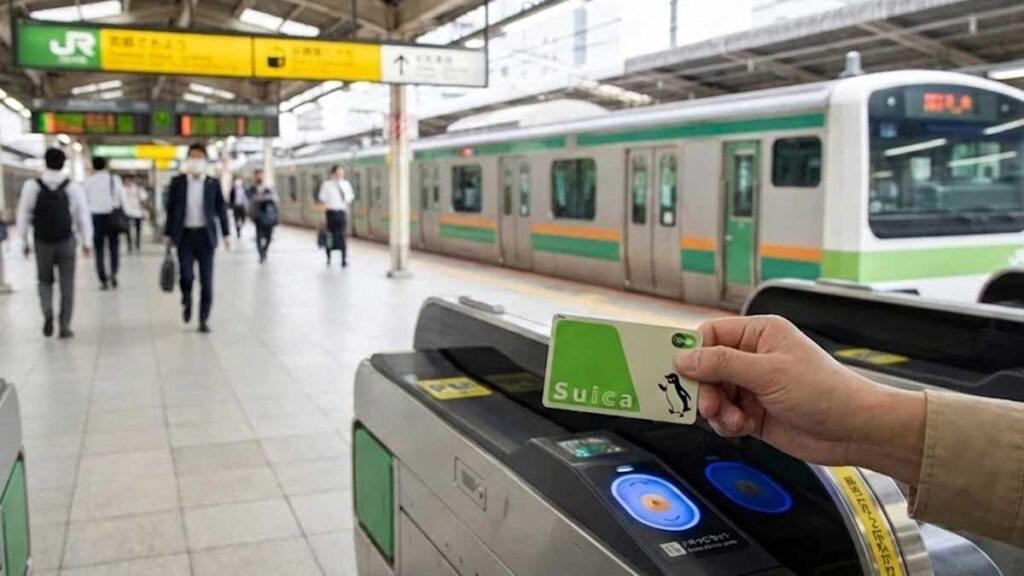
You cannot travel in Tokyo with paper tickets every time. It takes too much time. You need a rechargeable IC Card (like an Oyster Card in London).
- Suica / PASMO: Tap-and-go for trains, buses, and even convenience stores.
- Welcome Suica: A special version for tourists (no deposit required, valid for 28 days).
Where to get them: Look for the JR East Travel Service Center or the ticket machines near the train gates (Basement floor).
📖 Read More: Don’t Buy Paper Tickets! The Ultimate Guide to Japan’s IC Cards (Suica, Pasmo & More)
Mission 4: Choose Your Escape Route 🚄
Now that you have Internet, Cash, and an IC Card, it’s time to go to Tokyo. You have three main options:
1. The Fastest: Keisei Skyliner
- Best for: Ueno, Asakusa areas.
- Time: 36 mins to Ueno.
2. The Direct Route: Narita Express (N’EX)
- Best for: Shibuya, Shinjuku, Tokyo Station.
- Note: Free if you have a Japan Rail Pass.
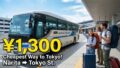
3. The Cheapest: Low Cost Bus
- Best for: Saving money.
- Cost: Only ¥1,300 to Tokyo Station.
📖 Read More: The Best Way to Get from Narita Airport to Tokyo Station (2026 Guide)
🧳 Don’t Want to Carry Bags?
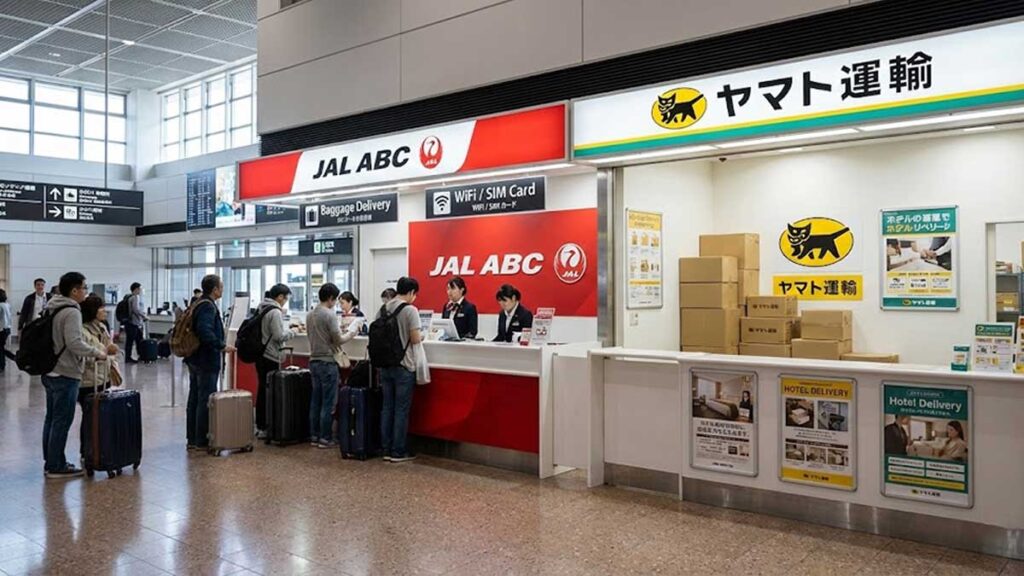
If you have huge suitcases and don’t want to drag them onto a crowded train, send them to your hotel!
Look for the “Yamato Transport” (Black Cat) counter. For about $15-$20, they will deliver your bag to your hotel the next day.
📖 Read More: Luggage Forwarding (Takkyubin): How to Travel Japan Hands-Free
Summary checklist
- ✅ Pick up WiFi/SIM.
- ✅ Withdraw Yen at 7-Bank ATM.
- ✅ Buy a Welcome Suica.
- ✅ Hop on the Train (or Bus).
Enjoy your trip to Japan!
Comments